


-

Chandrakant 'CK' Isi
24th Jun 2015
Android is undoubtedly the best platform when it comes to media consumption. Most handsets support popular video formats out-of-the-box. If in case it doesn't, MXPlayer takes care of most codecs. However, there are some tricky AVs that refuse to play on MXPlayer. That's due to the licencing issues. Thanks to a XDA-Dev member ktsamy, there's a simple solution. ktsamy has re-compiled all the audio codecs you could thing of in a single package. Here's an easy guide to get that thing working on your Android phone.
I'm talking about media that uses AC3, MLP, and DTS codecs. VLC can be a good alternative here, but it runs into performance issues often.
1. Download the codec using this link. Don't forget to say thank you to the guys at XDA.
2. Save it in your phone's internal storage.
3. Fire-up MXPlayer. The app will automatically detect and notify you about the custom codec. Simply click on OK, to add it to the player.
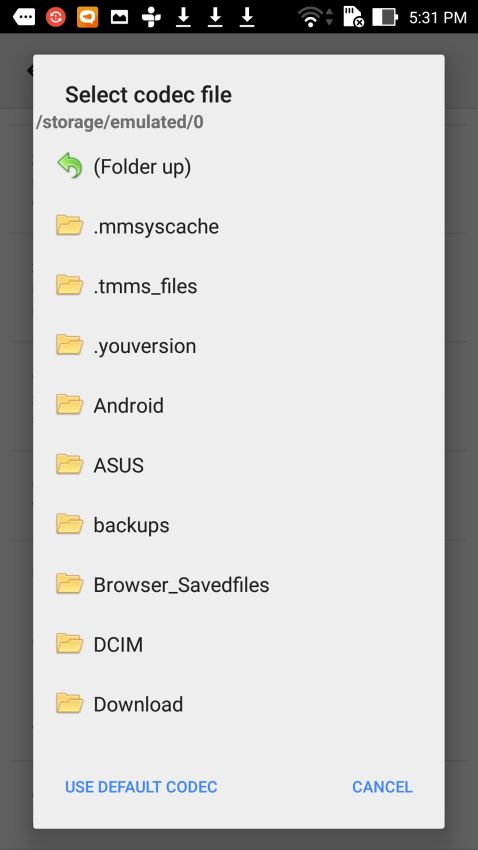
4. If it doesn't detect the codecs, go to MXPlayer Settings tab. Click on Decoder, then click on Custom Codec. Browse to the folder where you have downloaded the codecs.

5. If the codecs get loaded properly, MXPlayer will restart.
6. To make sure the custom codec is loaded, go to Help. Then, click on About.


How To: Add Custom Codecs To MXPlayer | TechTree.com
How To: Add Custom Codecs To MXPlayer
Workaround to get almost all the formats work on your Android smartphone.
News Corner
- DRIFE Begins Operations in Namma Bengaluru
- Sevenaire launches ‘NEPTUNE’ – 24W Portable Speaker with RGB LED Lights
- Inbase launches ‘Urban Q1 Pro’ TWS Earbuds with Smart Touch control in India
- Airtel announces Rs 6000 cashback on purchase of smartphones from leading brands
- 78% of Indians are saving to spend during the festive season and 72% will splurge on gadgets & electronics
- 5 Tips For Buying A TV This Festive Season
- Facebook launches its largest creator education program in India
- 5 educational tech toys for young and aspiring engineers
- Mid-range smartphones emerge as customer favourites this festive season, reveals Amazon survey
- COLORFUL Launches Onebot M24A1 AIO PC for Professionals
TECHTREE